SEMNAS Teknologi 4G
Senin, November 16, 2009 | Posted by Feri Pratama, ST
> Backdroop
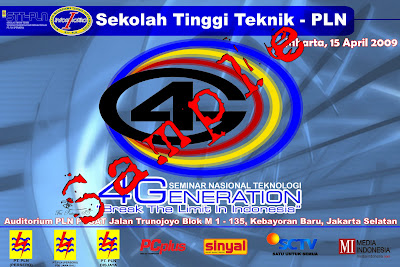
> Banner

> Book note (depan)
> Book note (belang)
> Book note (isi)

> Brousur
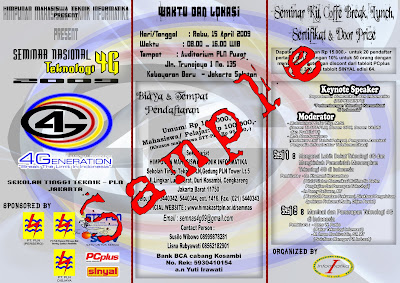
> Cover Proposal
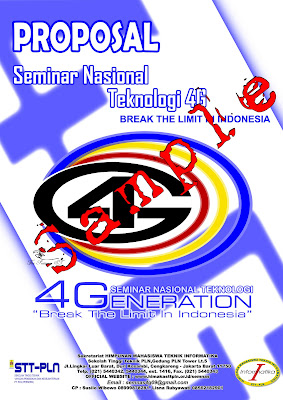
> Isi Proposal

> Id Card
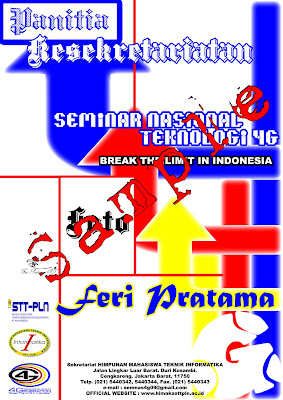
> Cover Modul Materi (depan)
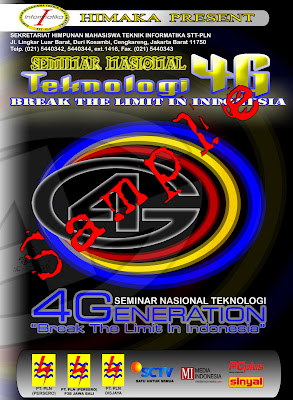
> Cover Modul Materi (belakang)
> Plakat

> Poster
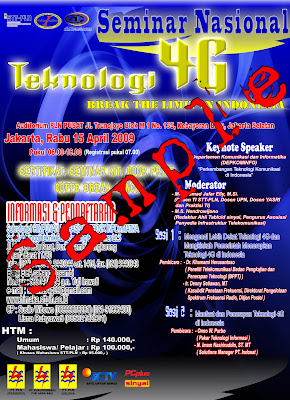
> Sertifikat
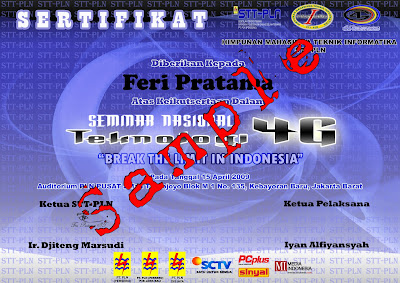
> Spanduk

> Stiker

> Surat Resmi (amplop)
> Surat Resmi (isi)

> Tiket (depan)

> Tiket (belakang)
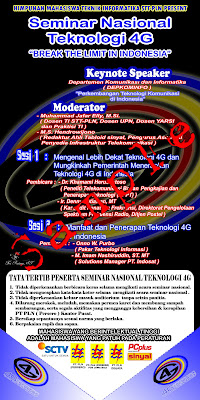
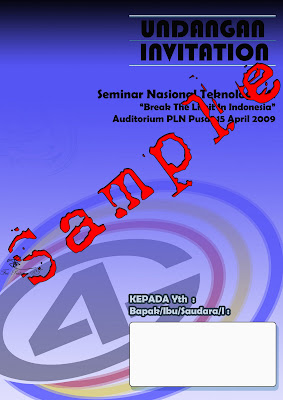
> Undangan (amplop - depan)
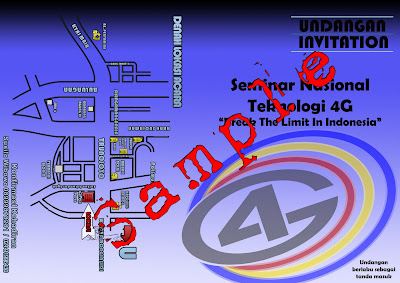
> Undangan (amplop - belakang)

> Undangan (isi - bagian luar)
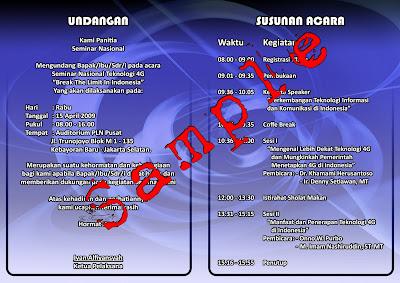
> Undangan (isi - bagian dalam)

> Banner

> Book note (depan)

> Book note (belang)

> Book note (isi)

> Brousur

> Cover Proposal

> Isi Proposal

> Id Card

> Cover Modul Materi (depan)

> Cover Modul Materi (belakang)

> Plakat

> Poster

> Sertifikat

> Spanduk

> Stiker

> Surat Resmi (amplop)

> Surat Resmi (isi)

> Tiket (depan)

> Tiket (belakang)

> Undangan (amplop - depan)

> Undangan (amplop - belakang)

> Undangan (isi - bagian luar)

> Undangan (isi - bagian dalam)

Mensyukuri Nikmat-Nya...
Senin, November 16, 2009 | Posted by Feri Pratama, ST
Terkadang kita hanya dapat mengeluh dgn berkata Ah.., Argh.., sebel.. atau lain sebagainya..
Kesal ataupun tidak mendapatkan sesuatu yang sesui, diri kita sering kali terbawa emosi tanpa berfikir bahwa semua itu sudah ada yg mengatur... Yaitu Allah Swt Yang Maha Mengetahui segalanya yang terbaik untuk kita..
Alangkah baiknya ketika kita mendapatkan cobaan ataupun sesuatu tang tidak kita inginkan, lebih baik membaca istigfar... Agar hati kita tidak terbiasa dengan sifat mengeluh..
Mengeluh itu kan manusiawi...?
Mengeluh memang manusiawi, tetapi ada kadarnya agar kita tidak terbiasa berlebihan dalam berkeluh kesah..
Boleh kita berkeluh kesah, tetapi sebaiknya berkeluh kesahlah di hadapan-Nya.. Karena Ialah yang mampu mengabulkan permintaan kita..
Allah akan menolong kita apabila kita mau berusaha untuk merubah diri kita sendiri.. Bukan malah mencibir atau tidak mensyukuri nikmat yang telah Ia beri kepada kita...
Bagaimana cara kita agar tidak mudah untuk mengeluh...?
Mensyukuri nikmat yang telah di berikan oleh Allah adalah perbuatan yang dapat mengikis sifat buruk kita yang sering kali mengeluh.. Sifat syukur terhadap apa yang kita peroleh, memberikan ruang fikir tersendiri agar kita tidak mudah putus asa dalam menjalani setiap cobaan yang diberikan oleh-Nya, dan tetap mau berusaha mengulangi kembali memperbaiki kegagalan yang kita peroleh.. karena kegagalan akan lebih menguatkan diri kita agar lebih tahan banting terhadap segala rintangan yang menghadang kita di depan.
Sifat syukur dengan berkata "Alhamdulillah", harus slalu menghiasi ucapan kita sebagai rasa syukut kita terhadap-Nya.. karena sebagian besar dari kita tidak banyak yang berfikir, dari mana O2 yang kita hirup setiap saat...? Darimana kehangatan sinar mentari yang menghangatkan diri kita..? Darimana datangnya air yang menyegarkan tenggorokan kita saat meminumnya..? Dan lain sebagainya yang kita nikmati setiap hari.. Tanpa itu semua kita tidak akan pernah merasakan nikmat yang lainnya..
Semua itu Allah yang maha sempurna, dengan kasih sayang-Nya, Ia berikan semua itu untuk kita...
How to Create a Digital Illustration Using Birds
Selasa, November 03, 2009 | Posted by Feri Pratama, ST
Step 1
First of all, create a new document. Make the image size and resolution as you wish. Just keep in mind that if you want to print it, you will need to create it at 300dpi. Fill the background with the color #02101e.

Step 2
Next you need to search for the texture you are about to use for this background. The one I used is from StockXchng. Import the image into Photoshop. Resize it to fit the screen and set the layer style to Screen Mode and the Opacity to 25%.

Step 3
Over the previous layer create a black layer and set the Opacity to 60%.

Step 4
It is time to import another image. Again, I used StockXchng to find the image. Cut the bird out using the Pen Tool (P). Create a new folder and name it "Pigeons."
Place the pigeon layer in the folder and resize it. Change the angle of the pigeon, or change the horizontal direction to create a composition similar to the one shown below, or establish your own unique layout. After you have done this, select the Burn Tool (O), set the hardness to 5%, and start brushing away the edges of the pigeons so that they blend in with the background.

Step 5
1. Select one layer with a pigeon (I selected the one on the right). Next, make a quick selection of the upper part of the head and neck using the Polygonal Lasso Lasso Tool (L). Hold Alt and drag a copy of the image above. Set the Opacity of the layer to 65%.
2. Change the pigeon layer from part 1 with another one. I used the one above the big pigeon on the left side. Alt-click on the image, drag it up, and move the layer behind the first one. Set the Opacity to 40%. Repeat the same operation with this layer and change the Opacity of the new layer to 15%.
3. This effect is called Breaking Apart, and the one that I did on the image is not a very complicated one. Select the pigeon in the top left part of the document, then make a selection using the Rectangular Marquee Tool (M) . Drag the selection above but not too much. Remember, you want it to look like it's breaking off. Repeat this with different size selections, and as you head towards the top of the document make them smaller.
4. Cut out another pigeon image from StockXchng using the Pen Tool (P) and place it between the two pigeons from the top as shown. Next, brush the image so it blends more with the composition using the same settings at the Burn Tool (O), just as you did with the first pigeon image. Also, place the pigeon head in the composition.
5. Return to the first pigeon image that you have placed in the document. Go to Filter > Blur > Gaussian Blur. Next, by resizing, changing the angle, and the horizontal direction, spread them all around the document so you will obtain something similar to the image below.

Step 6
Create a new layer under the folder "Pigeons." Go to Brush Tool, select a light blue #2e82d8, and paint behind the pigeons. Go to Filter > Blur > Gaussian Blur, and set the Radius to 120.

Step 7
Next, apply to the layer from Step 6 the following settings: set the Layer Style to Color Dodge and the Opacity to 60%.

Step 8
Now draw a path that you want the tentacles to follow using the Pen Tool (P). Be sure to select a light blue #2e82d8. Grab the Brush Tool (B) and set it to a small brush. I used 2 pixels. Use the settings shown below to make the Brush. Also, set the Pen Pressure effect. Repeat this step with different sized paths.

Step 9
Use the same settings for the Brush Tool (B) from the previous step. Select the Elliptical Marquee Tool (M), draw a circle around the head of the pigeon in the top left, Right-click, and choose stroke. Set the Brush size to 2 pixels and the color to #2e82d8.

Step 10
After following the Step 8 and 9, you should get something like the image below.

Step 11
Use the settings below to make the tentacles look shiny.

Step 12
Import another image from StockXchng. Next,cut the feather from the top of the image using the Pen Tool (P). Right-click > Make Selection. Go to Select > Refine Edge and use the settings below.
First of all, create a new document. Make the image size and resolution as you wish. Just keep in mind that if you want to print it, you will need to create it at 300dpi. Fill the background with the color #02101e.

Step 2
Next you need to search for the texture you are about to use for this background. The one I used is from StockXchng. Import the image into Photoshop. Resize it to fit the screen and set the layer style to Screen Mode and the Opacity to 25%.

Step 3
Over the previous layer create a black layer and set the Opacity to 60%.

Step 4
It is time to import another image. Again, I used StockXchng to find the image. Cut the bird out using the Pen Tool (P). Create a new folder and name it "Pigeons."
Place the pigeon layer in the folder and resize it. Change the angle of the pigeon, or change the horizontal direction to create a composition similar to the one shown below, or establish your own unique layout. After you have done this, select the Burn Tool (O), set the hardness to 5%, and start brushing away the edges of the pigeons so that they blend in with the background.

Step 5
1. Select one layer with a pigeon (I selected the one on the right). Next, make a quick selection of the upper part of the head and neck using the Polygonal Lasso Lasso Tool (L). Hold Alt and drag a copy of the image above. Set the Opacity of the layer to 65%.
2. Change the pigeon layer from part 1 with another one. I used the one above the big pigeon on the left side. Alt-click on the image, drag it up, and move the layer behind the first one. Set the Opacity to 40%. Repeat the same operation with this layer and change the Opacity of the new layer to 15%.
3. This effect is called Breaking Apart, and the one that I did on the image is not a very complicated one. Select the pigeon in the top left part of the document, then make a selection using the Rectangular Marquee Tool (M) . Drag the selection above but not too much. Remember, you want it to look like it's breaking off. Repeat this with different size selections, and as you head towards the top of the document make them smaller.
4. Cut out another pigeon image from StockXchng using the Pen Tool (P) and place it between the two pigeons from the top as shown. Next, brush the image so it blends more with the composition using the same settings at the Burn Tool (O), just as you did with the first pigeon image. Also, place the pigeon head in the composition.
5. Return to the first pigeon image that you have placed in the document. Go to Filter > Blur > Gaussian Blur. Next, by resizing, changing the angle, and the horizontal direction, spread them all around the document so you will obtain something similar to the image below.

Step 6
Create a new layer under the folder "Pigeons." Go to Brush Tool, select a light blue #2e82d8, and paint behind the pigeons. Go to Filter > Blur > Gaussian Blur, and set the Radius to 120.

Step 7
Next, apply to the layer from Step 6 the following settings: set the Layer Style to Color Dodge and the Opacity to 60%.

Step 8
Now draw a path that you want the tentacles to follow using the Pen Tool (P). Be sure to select a light blue #2e82d8. Grab the Brush Tool (B) and set it to a small brush. I used 2 pixels. Use the settings shown below to make the Brush. Also, set the Pen Pressure effect. Repeat this step with different sized paths.

Step 9
Use the same settings for the Brush Tool (B) from the previous step. Select the Elliptical Marquee Tool (M), draw a circle around the head of the pigeon in the top left, Right-click, and choose stroke. Set the Brush size to 2 pixels and the color to #2e82d8.

Step 10
After following the Step 8 and 9, you should get something like the image below.

Step 11
Use the settings below to make the tentacles look shiny.

Step 12
Import another image from StockXchng. Next,cut the feather from the top of the image using the Pen Tool (P). Right-click > Make Selection. Go to Select > Refine Edge and use the settings below.
Langganan:
Postingan (Atom)


